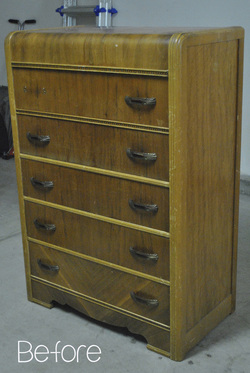
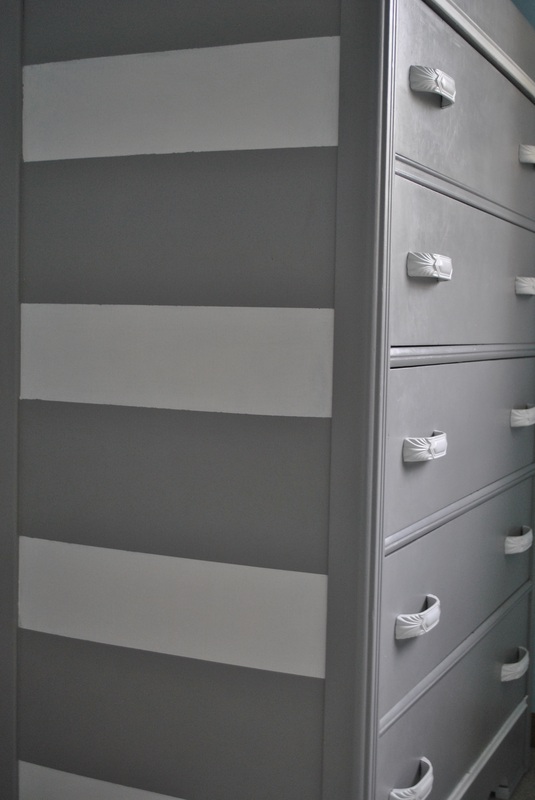
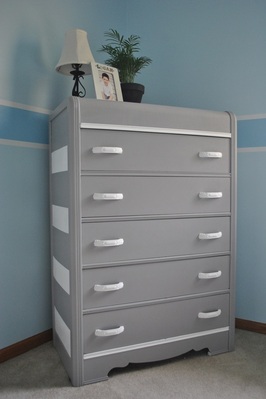
 Check out this beauty! We inherited this dresser when my husband and I got married. It was my husband's grandpa's. That's what I love about old furniture--it was built to last! I always thought it was so ugly, but what I didn't realize, was that it had such potential! So finally one day a couple years ago I got the courage and decided to redo it. So I spent A LOT of time sanding it down. What a mess and what a pain! I got paint with primer and painted the dresser gray and then spray painted the existing hardware. It looked pretty good, but I didn't love it and the paint and spray paint chipped easily. 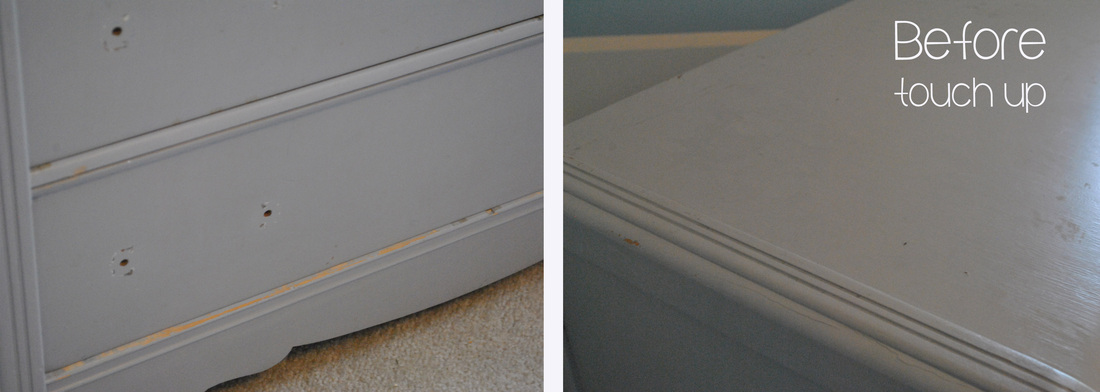
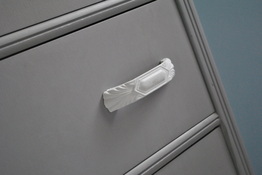
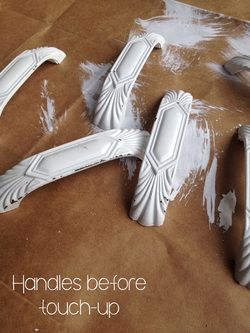 Then BB Frösch came along, and I realized that I could easily touch it up! So I mixed up just enough paint using my left over paint from the original project (another chalk paint powder plus-just mix what you need, no waste!), and in LESS THAN AN HOUR I did a quick coat on my dresser & and 3 quick coats of white on my metal handles. Yes, YOU CAN PAINT ON METAL! I brushed the wax on, and I was done! ...or so I thought. I kept staring at it for a couple weeks, and knew it wasn't complete, so I decided to paint stripes on the side. I measured and taped down my spaces, painted it the same white as the hardware and waxed it in...then I was done (for real this time). So I present to you the after-after's :)
This dresser is in my children's room, and I am happy to report that after about 3 months, it is holding up great! (Another plus of BB Frösch wax is durability!)
0 Comments
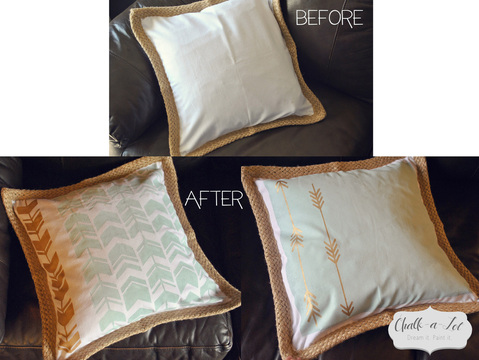
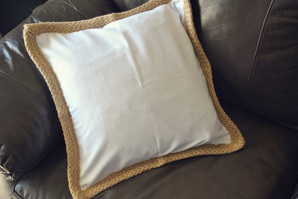
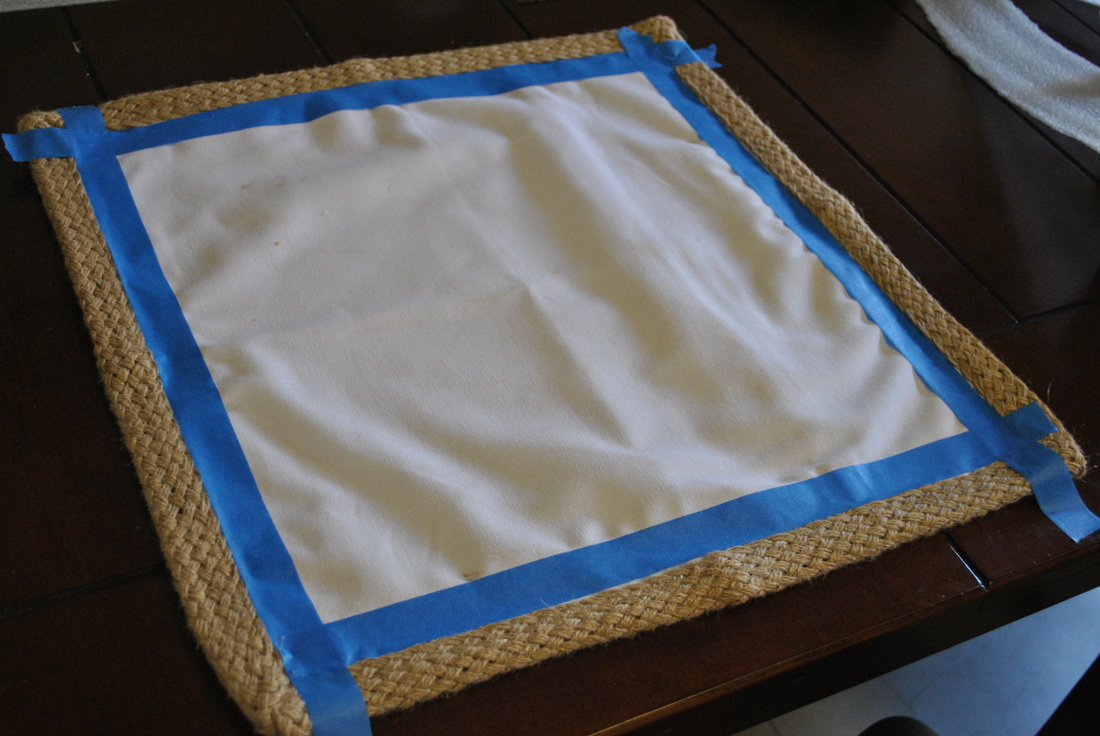
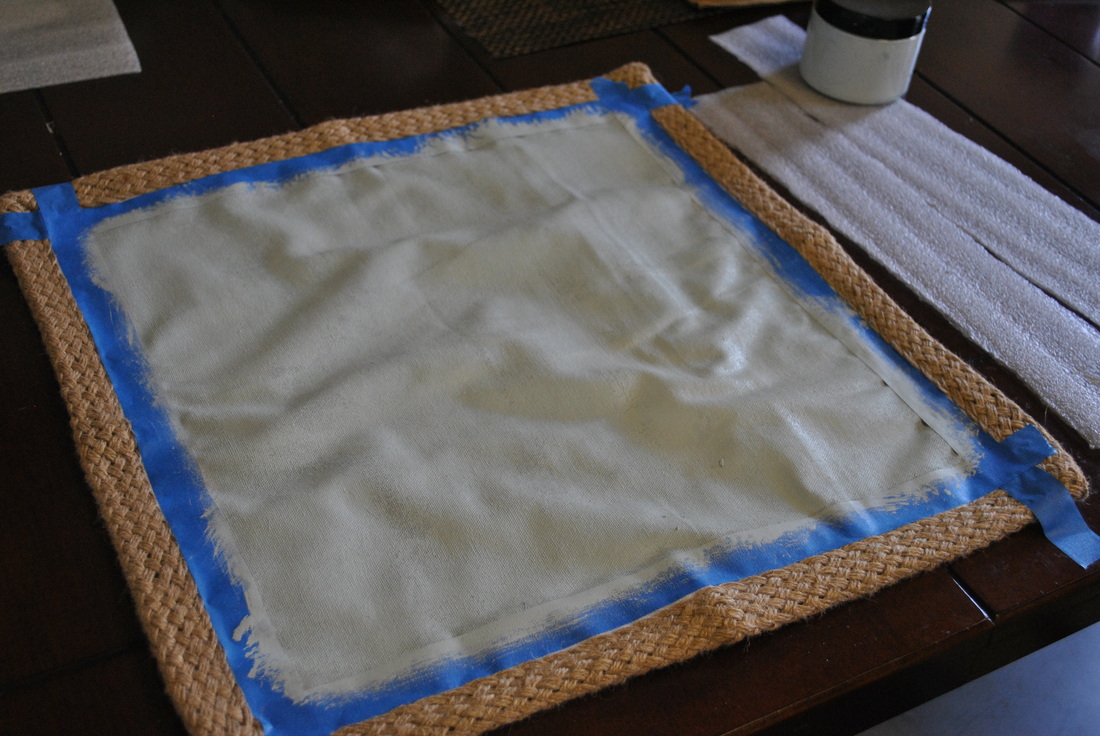
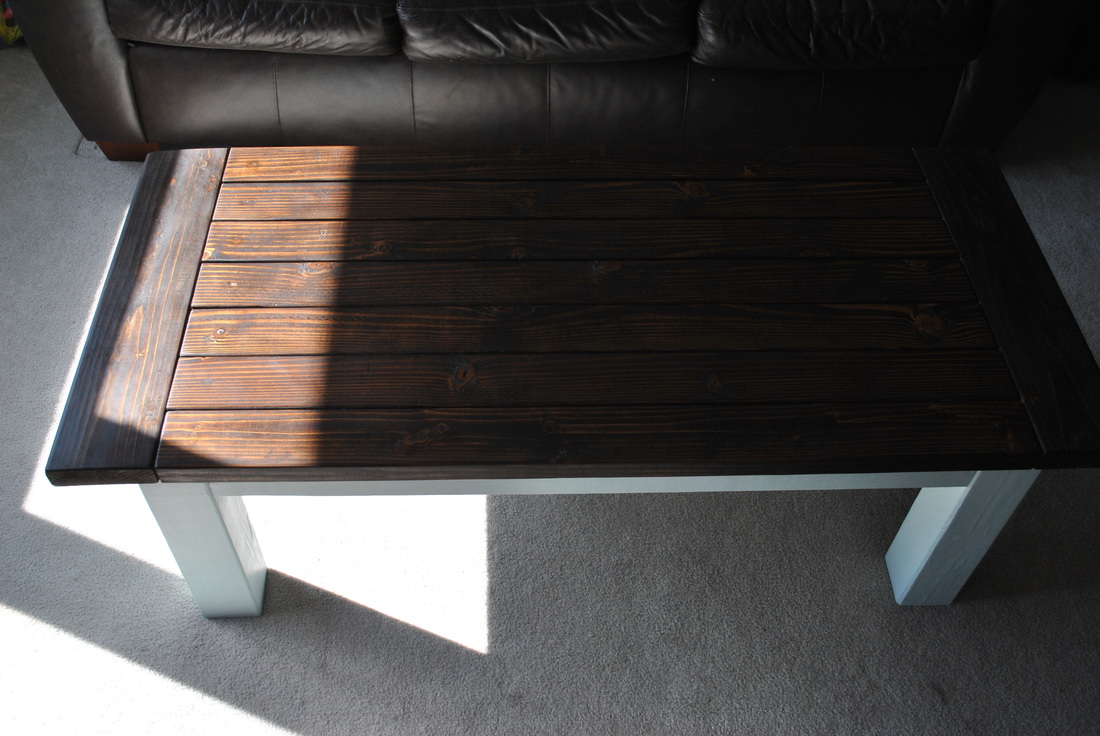
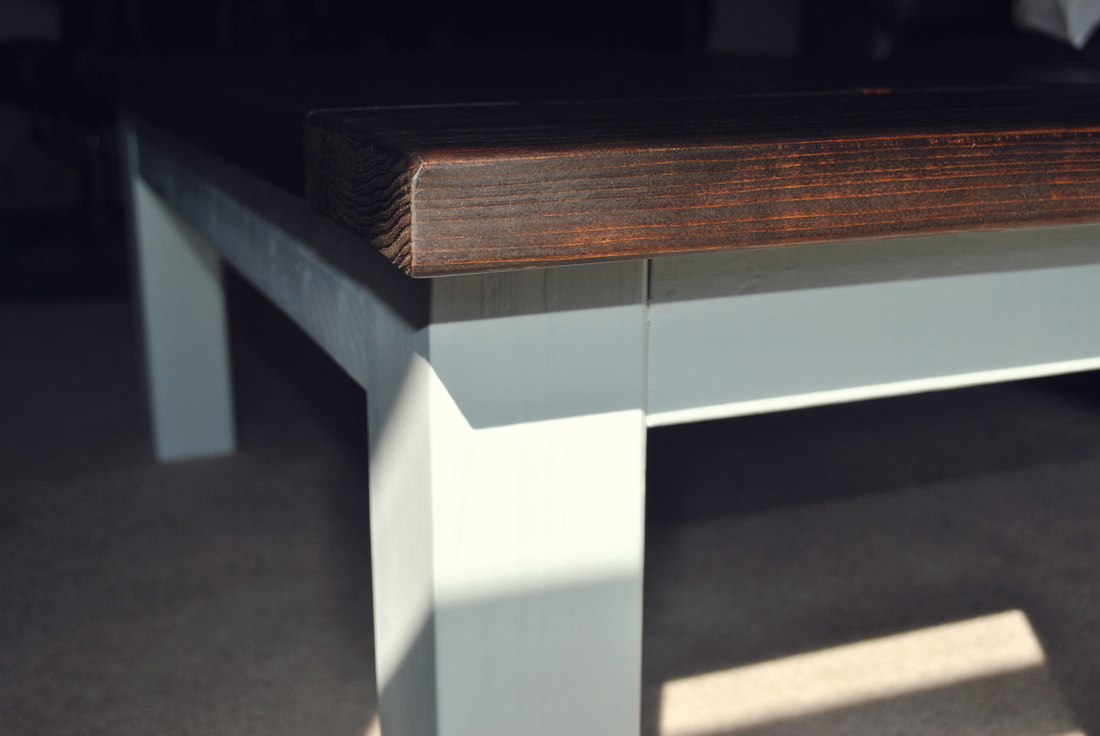
Yep, BB Frösch isn't just for furniture. I wanted pillows to match our coffee table, but didn't want to pay an arm and a leg in the process, so I headed over to Hobby Lobby to find fabric to attempt sewing my own, but I couldn't find fabric that matched. Then it hit me, why don't I try BB Frösch?!
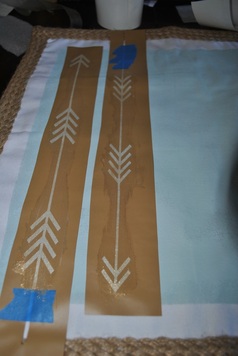
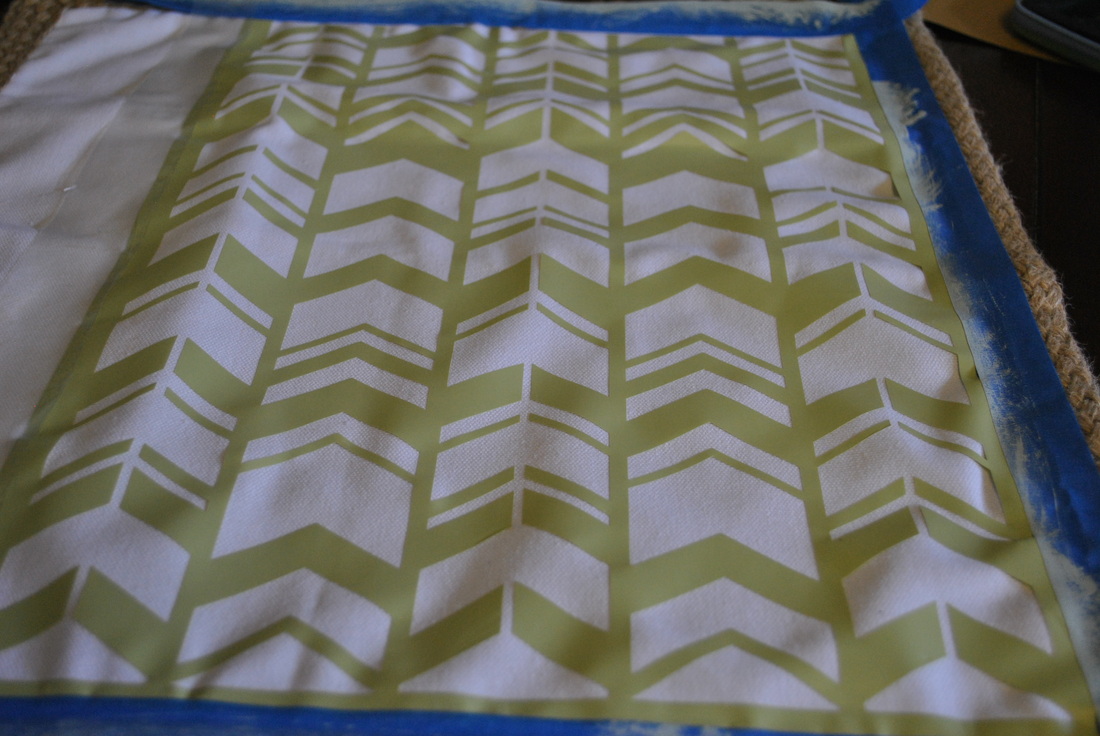
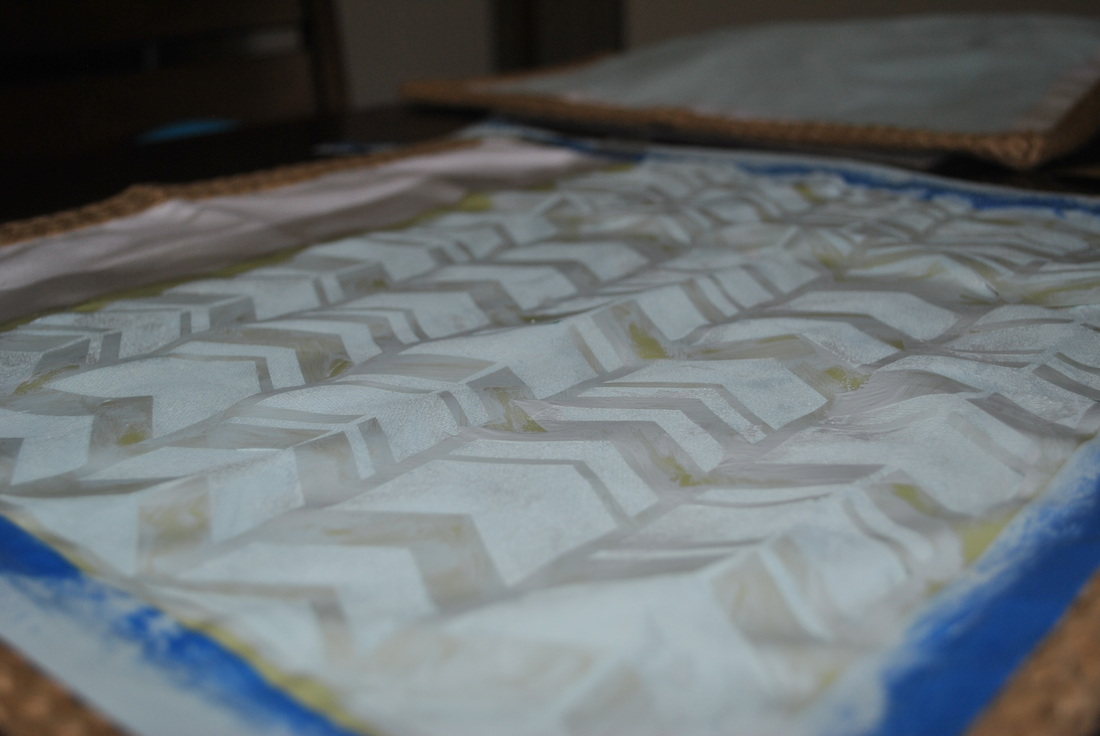
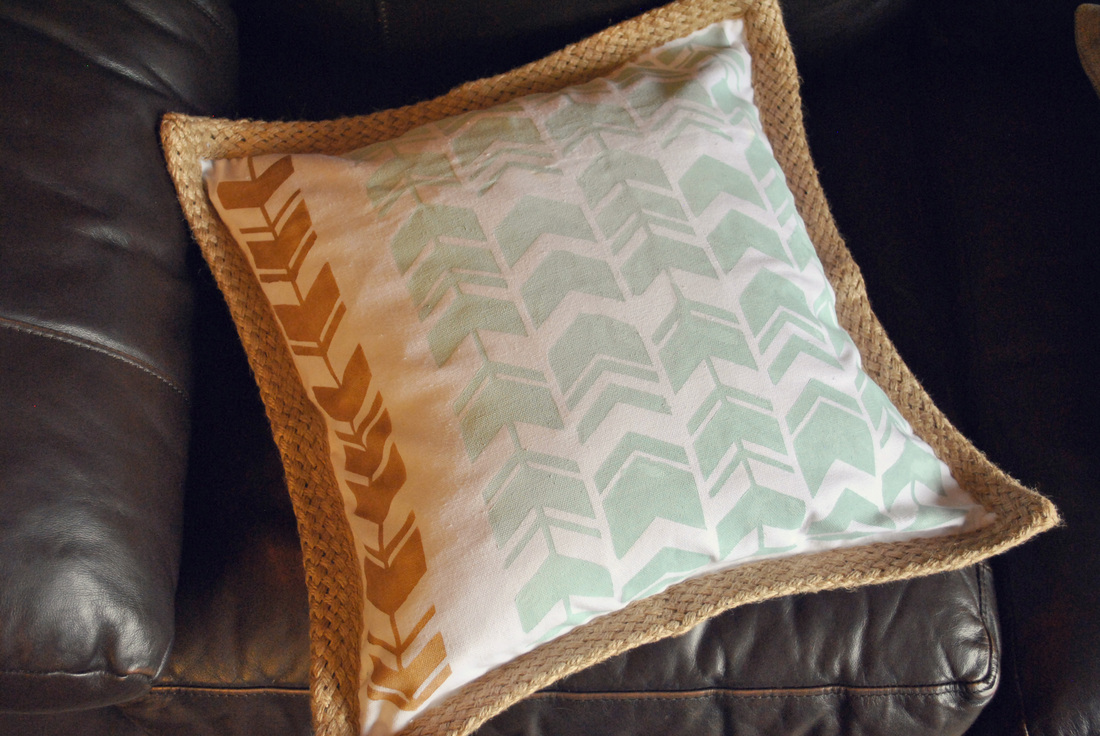
For the first pillow I taped down the edges of the pillow, to leave a white border from the pillow, then I painted in the rest of the pillow using the same hashtag strokes you use with chalk paint.
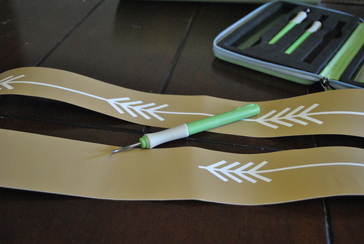
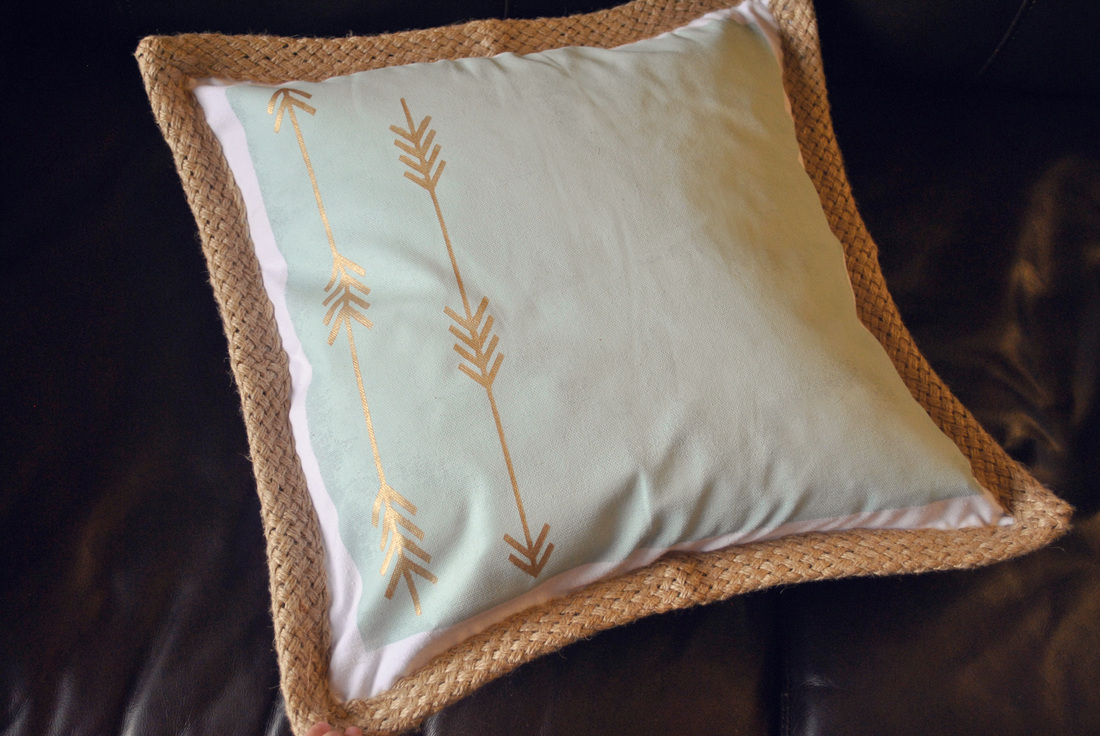
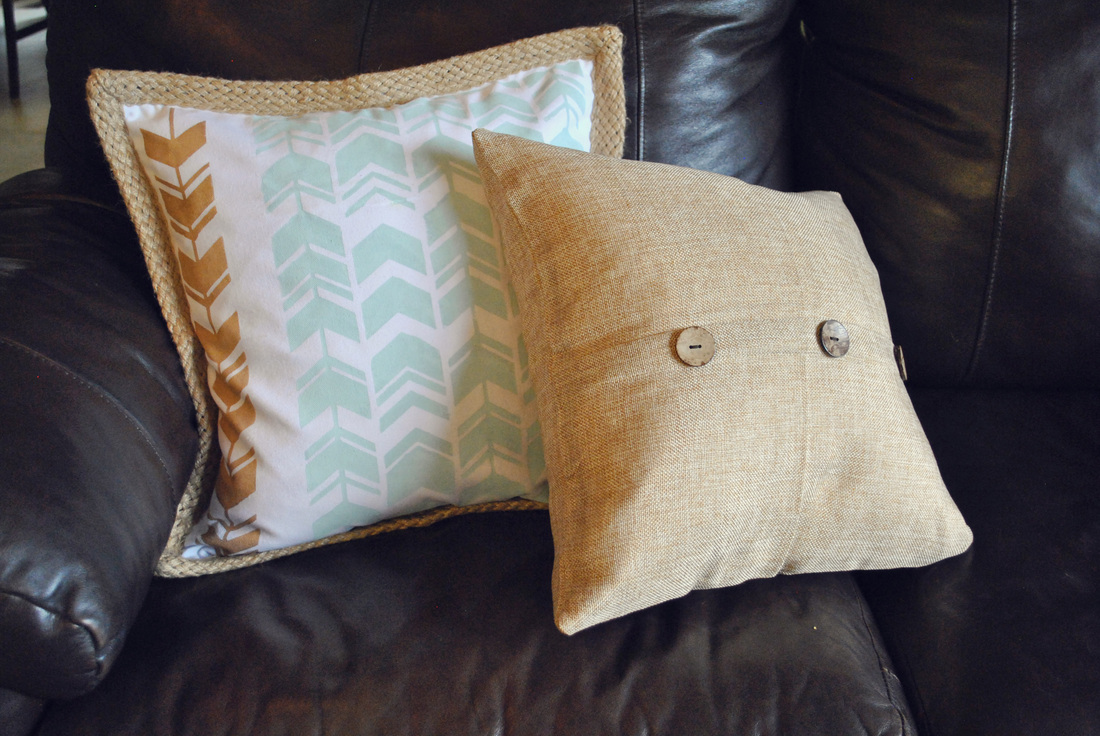
After letting the arrows dry, I pealed off the vinyl sticker and....ta dah! Pillow #2 was about the same process. This time I cut out herringbone pattern for the stencil. I did the main section the same blue (as the other pillow and coffee table), and the one strip on the side gold. {side note} I brushed a little clear wax on the top of the pillows, but I didn't think it really make a big difference to have it on there for this particular project. But usually, I would always recommend brushing on wax to complete the bonding of the piece with the chalk paint and also for durability. And here we go! To finish off the pillow project, I added a couple more cheap pillows from Hobby Lobby for a project grand total of $30! Not to shabby for a custom color pillow project. BB Frösch, you've done it again!
|
Chalk-a-LotDream it. Paint it.
Want to see more projects using BB Frösch?
Go HERE
and HERE
Archives
September 2016
Categories |

 RSS Feed
